Granting Impersonation Rights
Global administrators must have appropriate impersonation rights to backup and restore Office 365 exchange mailboxes.
You can assign impersonation rights from:
Assign Exchange impersonation rights for Office 365 Exchange Global administrator from Office 365 Exchange Admin:
To assign impersonation rights,
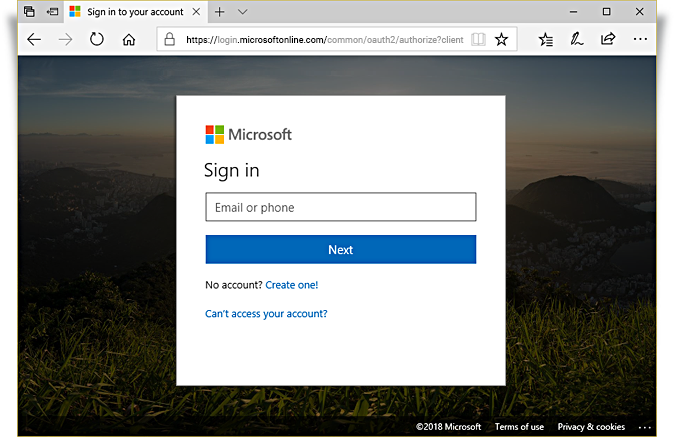
- Login to https://portal.office.com as a Global Administrator.
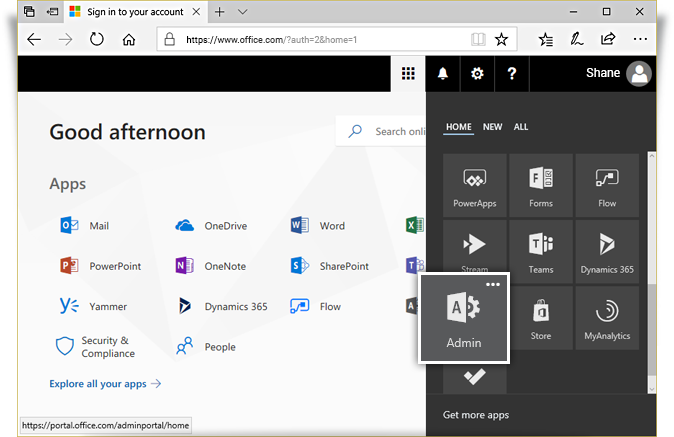
- Click
 and go to 'Admin’.
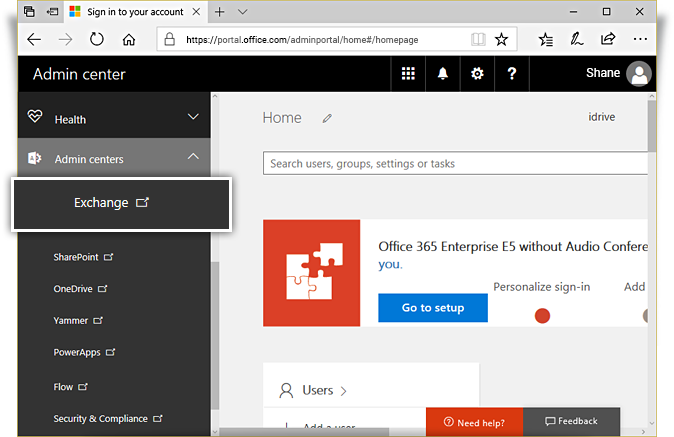
- Click 'Admin centers’ in the left navigation bar, and then click 'Exchange’.
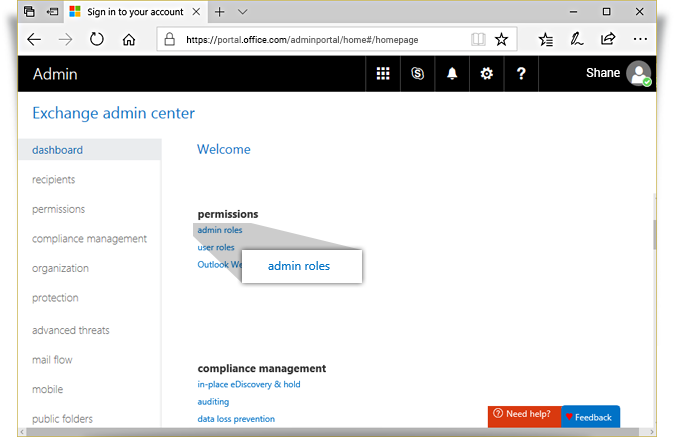
- In the 'Exchange admin center' page, click 'Admin Roles' under 'Permissions'.
- To add a new role, click
 .
.

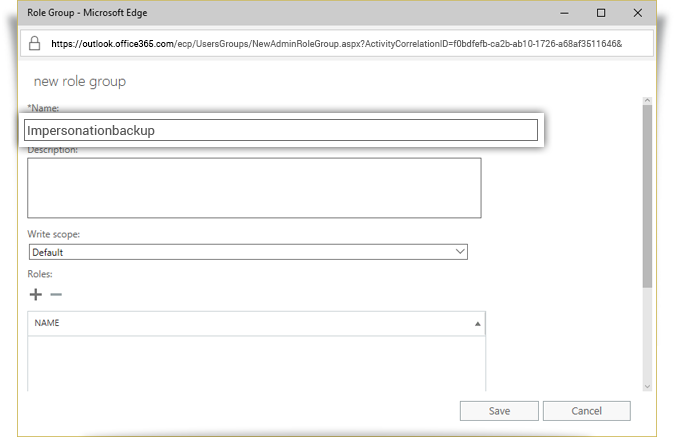
- Enter the name as 'Impersonationbackup' in the 'new role group' window.
- To add a role, click under 'Roles'.
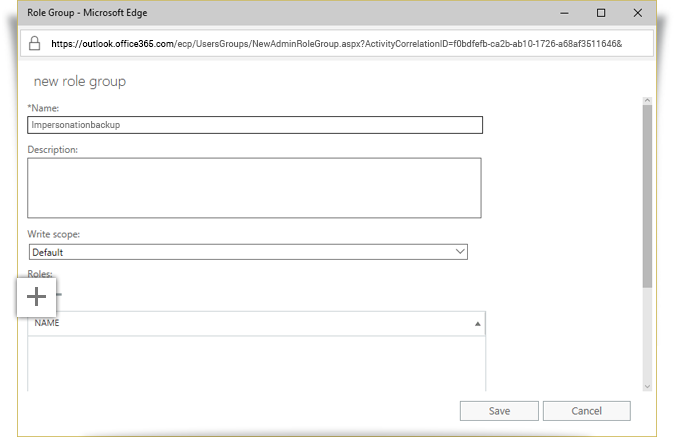
- Select 'ApplicationImpersonation', and click 'add'. Click 'OK'.

- Click under 'Members' to add a new member to the role group.
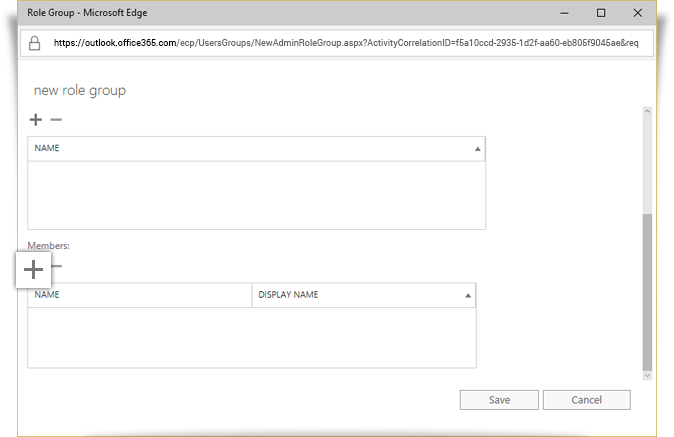
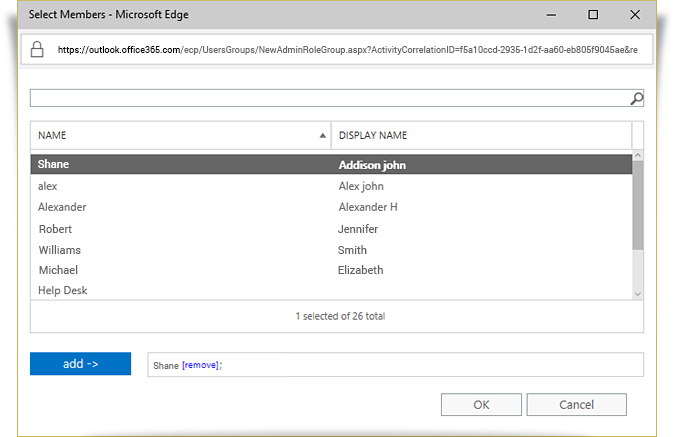
- Select your admin account, and click 'add'. Click 'OK'.
- Click 'Save'.
- Once done, click 'Admin' -> 'Azure Active Directory'.
- Click the 'Properties' menu and go to 'Manage Security Defaults'.
- To disable 'Security Defaults', click 'No'.
- Click 'Save' to save the changes made.
Note: Additionally with impersonation rights, we recommend you to assign discovery management rights to the global administrator. For information on assigning discovery management rights, refer discovery management FAQ.
Assign Exchange impersonation rights for Office 365 Exchange Global administrator from Windows Powershell:
Before granting impersonation rights, you must first connect to the Office 365 exchange server.
To assign impersonation rights,
- In the Administrator privilege mode, open ‘Windows Powershell’.
- Change the execution policy to remote-signed by executing the following command,:
C:\Windows\system32> Set-ExecutionPolicy RemoteSigned
- Connect to exchange online server by executing the following command:
C:\Windows\system32>$O365Cred = Get-Credential
Note: Assign global administrator login credentials to a variable to ensure that the credentials are included in the connection command.
- Create a PSSession to Office 365 by executing the following command:
C:\Windows\system32> $Session = New-PSSession -ConfigurationName Microsoft.Exchange -ConnectionUri https://outlook.office365.com/powershell-liveid/ -Credential $O365cred -Authentication Basic -AllowRedirection
- To import PSSession execute the following commands:
C:\Windows\system32> Import-PSSession $Session
C:\Windows\system32> Enable-OrganizationCustomization
- Assign the exchange impersonation rights to a global administrator, in the following format:
New-ManagementRoleAssignment –Name:
–Role:ApplicationImpersonation –User: For Example:
C:\Windows\system32> New-ManagementRoleAssignment –Name:backupimpersonation –Role:ApplicationImpersonation –User: "admin@domain.com" - Assign discovery management rights in the following format:
Add-RoleGroupMember -Identity "Discovery Management" -Member "Shane@domain.com"
The overall command format is as follows:
PS C:\Windows\system32> Set-ExecutionPolicy RemoteSigned
PS C:\Windows\system32> $O365Cred = Get-Credential
PS C:\Windows\system32> $Session = New-PSSession -ConfigurationName Microsoft.Exchange -ConnectionUri https://outlook.office365.com/powershell-liveid/ -Credential $O365cred -Authentication Basic -AllowRedirection
PS C:\Windows\system32> Import-PSSession $Session
PS C:\Windows\system32> Enable-OrganizationCustomization
PS C:\Windows\system32> New-ManagementRoleAssignment –Name:backupimpersonation –Role:ApplicationImpersonation –User: "admin@domain.com"
PS C:\Windows\system32>Add-RoleGroupMember -Identity "Discovery Management" -Member "Shane@domain.com"